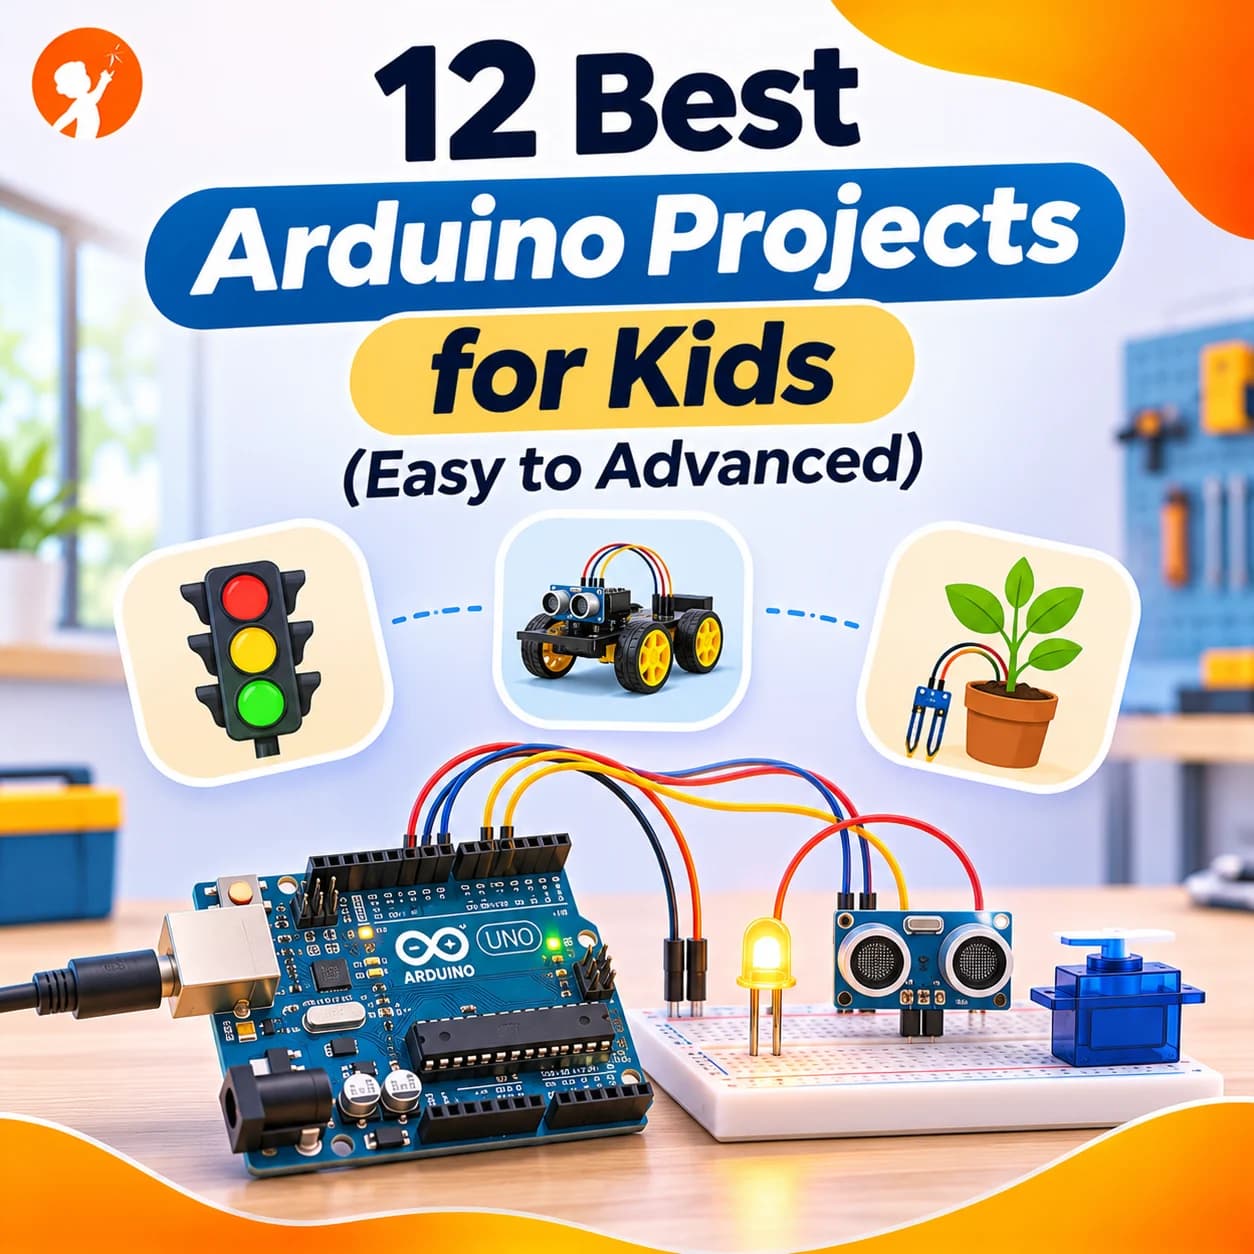
What if your child's code could switch on a real light, play a tune or drive a little robot across the floor? That is the magic of Arduino projects for kids: code leaves the screen and makes things happen in the real world. A small board, a few wires and some simple code are all it takes to start.
This guide explains what Arduino is, what you need to begin, and 12 of the best Arduino projects for kids, from a first blinking light to an obstacle-avoiding robot car. Each idea includes what you need, how to start, what your child will learn and a rough budget.
What Is Arduino?
Arduino is a small, low-cost computer board, called a microcontroller, that can read sensors and control things like lights, buzzers and motors. You write code on a computer, send it to the board through a USB cable, and the board runs it. The most popular board for beginners is the Arduino Uno. Arduino code is written in a simple version of C++, and many beginner tools also let children code it with blocks first.
| What you need | What it does | Rough cost |
|---|---|---|
| Arduino Uno board (or compatible) | The "brain" that runs the code | $10 to $30 |
| Starter kit with breadboard, wires, LEDs, resistors and sensors | Parts for dozens of projects | $30 to $60 |
| Computer with the free Arduino IDE | Where you write and upload the code | Free |
| Tinkercad Circuits (optional) | A free online simulator to try projects without real parts | Free |
Not ready to buy a kit? Tinkercad Circuits lets children build and code a virtual Arduino in the browser, so they can try the first few projects for free.
12 Best Arduino Projects for Kids
The projects are ordered from easiest to hardest. Most children aged 9 and up can start with the first few, with an adult nearby for the early ones.
1. Blinking LED
The classic first project: make a light turn on and off. It is the "Hello, World!" of electronics, and it proves the board and code are working.
What you need: Arduino board, 1 LED, 1 resistor (220 ohm), breadboard, 2 wires.
How to start: Connect the LED and resistor to pin 13, open the Blink example in the Arduino IDE, upload it, then change the delay numbers to make it blink faster or slower.
void setup() {
  pinMode(13, OUTPUT);
}

void loop() {
  digitalWrite(13, HIGH);  // light on
  delay(500);              // wait half a second
  digitalWrite(13, LOW);   // light off
  delay(500);
}
You'll learn: how code controls a pin, setup and loop, and delays.
Rough budget: included in any starter kit.
2. Traffic Light
Build a mini traffic light with red, yellow and green LEDs that change in the right order. It is a fun way to turn a real-world system into code.
What you need: 3 LEDs (red, yellow, green), 3 resistors, breadboard and wires.
How to start: Connect each LED to its own pin, then write the light pattern step by step with delays. Add a button later to make a pedestrian crossing.
You'll learn: sequences, timing and controlling several outputs.
Rough budget: included in a starter kit.
3. Automatic Night Light
Make a light that switches on by itself when the room gets dark, just like real street lights.
What you need: light sensor (LDR), 10k resistor, LED, breadboard and wires.
How to start: Read the light sensor with analogRead(), print the values to see how they change, then use an if-statement to turn the LED on below a certain number.
You'll learn: sensors, analog values and if-statements.
Rough budget: included in most starter kits.
4. Buzzer Melody Player
Program a buzzer to play a tune, such as "Happy Birthday" or a game theme. Children love hearing their code make music.
What you need: passive buzzer and 2 wires.
How to start: Use the tone() command to play one note, then store a list of notes and play them in a loop.
You'll learn: sound frequencies, lists (arrays) and loops.
Rough budget: included in a starter kit, or about $2 for a buzzer.
5. Reaction Time Game
An LED lights up at a random moment, and the player must press a button as fast as they can. The Arduino measures their reaction time.
What you need: 1 LED, 1 push button, resistors, breadboard and wires.
How to start: Wait a random time with random(), light the LED, then use millis() to time how long the button press takes and show it on the Serial Monitor.
You'll learn: inputs, random numbers and measuring time.
Rough budget: included in a starter kit.
6. Electronic Dice
Press a button and the Arduino "rolls" a number from 1 to 6, shown with LEDs. It is a perfect board-game gadget.
What you need: 6 or 7 LEDs, resistors, 1 button, breadboard and wires.
How to start: Pick a random number when the button is pressed, then light the matching LEDs. Add a short "rolling" animation before the result.
You'll learn: random numbers, functions and patterns.
Rough budget: included in a starter kit.
7. RGB Mood Lamp
Use a colour-changing RGB LED to make a lamp that fades through the rainbow or changes colour at the turn of a knob.
What you need: RGB LED, 3 resistors, potentiometer (knob), breadboard and wires. A paper or plastic shade makes it glow nicely.
How to start: Mix red, green and blue with analogWrite(), then read the knob to choose the colour.
You'll learn: PWM (dimming), colour mixing and mapping values.
Rough budget: included in most kits; about $1 for an RGB LED.
8. Plant Watering Alarm
A soil sensor checks if a plant is thirsty and sounds a buzzer or lights an LED when it needs water. It is a great science fair project.
What you need: soil moisture sensor, buzzer or LED, wires.
How to start: Read the sensor in dry and wet soil to find the numbers, then set an alert below the "dry" value.
You'll learn: real-world sensors, calibration and alerts.
Rough budget: about $3 to $5 for a soil sensor.
9. Parking Sensor
Build the beeping sensor found in cars: the closer an object gets, the faster the buzzer beeps.
What you need: ultrasonic distance sensor (HC-SR04), buzzer, breadboard and wires.
How to start: Measure distance with the sensor, show it on the Serial Monitor, then make the beep delay shorter as the distance shrinks.
You'll learn: distance sensing, maths in code and feedback.
Rough budget: included in many kits; about $2 to $4 for the sensor.
10. Digital Thermometer
Measure the temperature of a room and show it on a small screen, like a real weather station.
What you need: temperature sensor (such as a DHT11 or TMP36), 16x2 LCD screen, wires.
How to start: Read the temperature, print it to the Serial Monitor, then add the LCD library and show it on the screen. Add humidity if your sensor supports it.
You'll learn: libraries, displays and working with data.
Rough budget: included in larger kits; about $5 to $8 for sensor and screen.
11. Automatic Candy Dispenser
Wave your hand and a servo motor opens a flap to drop a sweet. It combines a sensor, a motor and a bit of cardboard building.
What you need: servo motor, ultrasonic or IR sensor, cardboard box, tape.
How to start: Make the servo move between two angles, then trigger it when the sensor detects a hand close by.
You'll learn: motors, angles and combining inputs with outputs.
Rough budget: about $3 to $5 for a small servo if your kit has none.
12. Obstacle-Avoiding Robot Car
The big one: a small car that drives on its own and turns away from walls. It is a real robotics project and a proud moment for any young builder.
What you need: robot car chassis kit with 2 motors and wheels, motor driver board, ultrasonic sensor, battery pack.
How to start: First make the car drive forward and turn, then add the sensor so it stops, looks around and picks a clear direction.
You'll learn: motor control, decision-making in code and robot design.
Rough budget: about $25 to $50 for a robot car kit.
Safety Tips for Arduino Projects
- Use the USB cable or a small battery pack for power. Never connect projects to a wall socket.
- Always use a resistor with LEDs, so they don't burn out.
- Unplug the board before changing wires.
- Keep an adult nearby for younger children, especially when using batteries, motors or tools.
- Work on a clear table, away from drinks.
What Is the Right Age for Arduino?
Most children are ready for Arduino from around 9 or 10, especially if they have tried block coding first. Younger children can start with simpler tools, such as micro:bit or the coding robots in our guide to the best robot kits for kids. Teens can take Arduino much further, adding Wi-Fi, apps and even AI. If your child enjoys these projects, a kit also makes a great present; see our list of coding gifts for kids.
| Age | Good starting point |
|---|---|
| 6 to 8 | Coding robots and block coding, such as Scratch |
| 9 to 11 | Tinkercad Circuits, then projects 1 to 6 |
| 12 to 14 | Projects 5 to 12, writing the code themselves |
| 15 and up | Their own inventions, Wi-Fi boards and robots |
Looking for more hands-on ideas? Try these STEM activities for kids, or read why robotics education matters.
Build Circuits and Robots With Junior Coderz
At Junior Coderz, electronics and robotics are part of our live online classes for ages 6 to 16. In our robotics and electronics classes, students build circuits, code microcontrollers and complete projects like automated street lights and an Arduino RGB lamp, then move on to virtual robots and competitions. These lessons sit inside our Junior Inventors Program for ages 8 to 10, alongside coding, AI and game design, all taught by engineer instructors. See every option on our courses page.
Turn Your Child's Ideas Into Real Inventions
Arduino is more fun with an expert by your side. In a free trial class, your child works on a live coding project with one of our engineer instructors and discovers how code can control lights, sensors and robots. You also get honest advice on the best program for their age and interests.
- Hands-On Projects
- Engineer Instructors
- Ages 6 to 16
From a Blinking Light to a Robot
Every inventor starts small. A single blinking LED teaches how code meets the real world, and a few projects later your child could be building sensors, games and robots of their own. Pick one of these Arduino projects, gather the parts and build it together. The first time the light blinks, you will see why so many kids get hooked. To see what young makers are creating, visit Junior Coderz or follow us on Instagram.
FAQs
Is Arduino good for kids?
Yes. Arduino is cheap, safe at low voltage and shows children how code controls real things, which makes coding feel exciting and useful.
What is the easiest Arduino project for beginners?
The blinking LED. It needs only an LED, a resistor and a few lines of code, and it teaches the basics every other project uses.
What language does Arduino use?
Arduino uses a simplified version of C++. Beginners can also start with block-based tools and move to text code later.
Can kids try Arduino without buying anything?
Yes. Tinkercad Circuits is a free online simulator where children can build and code a virtual Arduino in their browser.
Which Arduino kit should I buy for my child?
An Arduino Uno starter kit with a breadboard, LEDs, sensors, a buzzer and a servo is the best start. It covers most of the projects in this list.
Is Arduino or micro:bit better for kids?
micro:bit is easier for children under 10 because it has built-in lights and buttons. Arduino suits children from about 9 or 10 who want to build real circuits.