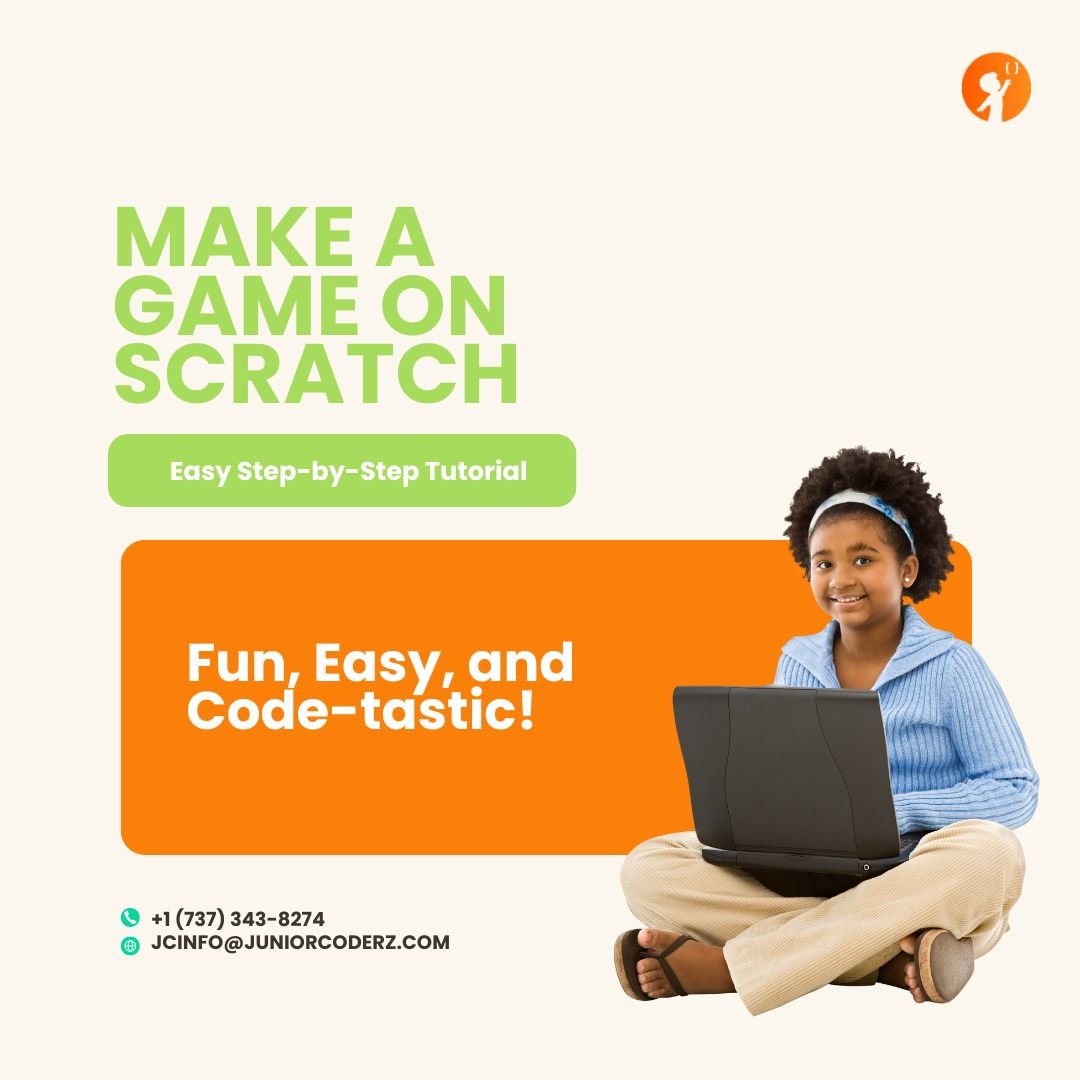
Are you ready to bring your creative ideas to life? Whether you’re an aspiring game developer, a creative mind, or just someone who loves gaming, Scratch is the perfect platform to get started. Scratch is a block-based coding language designed by MIT to make programming fun and approachable for kids and teens. It helps young learners gain confidence in their problem-solving abilities and builds essential coding skills in an interactive, engaging way. By using Scratch, anyone can create an interactive story, build a game, or even animate a character with just a few clicks. The platform empowers kids to think like developers, making it not only educational but also incredibly fun.
What makes Scratch stand out is its user-friendly interface that allows young coders to visually create their own projects without the need to write complex code. Scratch’s versatility enables beginners to easily understand programming concepts like loops, conditions, and variables through simple, drag-and-drop blocks. So, if you’re ready to dive into the world of game development, let’s get started and learn how to make your first game on Scratch!
“Every line of code is a step towards a brighter, more creative future.”
Why Scratch? – Unlocking the Future of Creativity
Scratch isn’t just about coding it’s about creativity, innovation, and critical thinking. Designed for young learners, Scratch uses visual coding blocks that allow kids to drag and drop commands, making it easy to build interactive stories, games, and animations. With Scratch, young coders don’t need to worry about syntax or complicated lines of code. It’s an intuitive, hands-on platform that introduces children to programming fundamentals in a fun and engaging way.
Not only is Scratch ideal for beginners, but it’s also versatile enough to build complex projects as skills progress. From creating simple games to building intricate animations, Scratch offers an accessible entry point for kids and teens to explore their potential in tech.
Step 1: Plan Your Game – Laying the Foundation for Your Future Tech Projects
Planning is a crucial first step in any game development project. Just like constructing a building, a solid game requires a well-thought-out plan. Here’s how to start:
- Decide on the Game Type: Will it be a chase game, a quiz, or a maze game? Each type has its own mechanics and goals.
- Set Your Goals: What is the player supposed to do? For example, should they collect items, dodge obstacles, or complete a series of tasks?
- Outline the Game Flow: Write out how the game will begin, progress, and end. What happens when the player wins or loses?
- Think About Levels: If you’re creating a more complex game, consider adding multiple levels or increasing difficulty as the player advances.
Planning your game will help you organize your thoughts and make the building process smoother. Having a clear goal ensures that each step, from coding to design, is aligned with your vision.
Step 2: Design Your Game – Creativity and Fun Combined
Once your game plan is in place, it’s time to add some visual flair! Design is a vital part of creating a compelling game experience. Here’s how to approach it:
- Pick a Theme: Scratch offers a variety of backgrounds for every genre—whether you’re designing a space adventure, a medieval quest, or a tropical island theme. Choose one that fits the feel of your game, or create your own!
- Create Your Sprites: Sprites are the characters and objects the player will interact with. This could include a player character, enemies, or collectibles (like coins or power-ups). Scratch has a built-in library, or you can create your own sprites with the Scratch editor.
Designing the visual elements of your game allows you to bring your imagination to life. Remember, good design doesn’t just make the game look cool—it helps guide the player through their experience.
Step 3: Add Sprites – Characters and Objects That Bring Your Game to Life
Now comes the fun part: adding your sprites! These are the key elements of your game, like characters, objects to collect, or obstacles to avoid. Here’s what to add:
- Player Sprite: The character the player will control.
- Enemy Sprites: Obstacles or enemies that challenge the player.
- Collectibles: Items (like coins, gems, or other power-ups) the player must gather to score points.
Once you’ve chosen or created your sprites, place them in your game’s stage. In Scratch, sprites can have multiple costumes or animations, adding depth to your game and making the characters feel more dynamic.
Step 4: Start Coding with Blocks – Making Your Game Interactive
Now it’s time to bring your game to life by coding your sprites using Scratch’s drag-and-drop blocks. These blocks are easy to use and allow you to program sprite movement, actions, and interactions. Here’s how to start coding:
- Movement: Use motion blocks to move your player sprite. You can make it move with the arrow keys, the mouse, or using custom controls.
- Interaction: Add event blocks to define actions. For example, if the player sprite touches a coin, the score should increase.
- Animation: Customize how your sprites appear. For example, the player sprite might change its costume when it moves, or it might jump when a key is pressed.
By using these colorful blocks, you can make your game come to life and respond interactively to the player’s actions. Scratch makes learning how to code feel like a game itself!
Step 5: Add Game Logic – What Makes Your Game a Game?
The real fun happens when you start adding game logic—the rules that define how your game works. Here are a few essential things to consider:
- Collecting Items: When the player collects an item, what happens? Should the score increase, or should the item disappear?
- Collisions: What happens when the player touches an enemy? Does the game end, or does the player lose a life?
- Win/Loss Conditions: How does the game end? Does the player win after collecting all the items, or lose if time runs out?
Using Scratch’s control and sensing blocks, you can set up conditions like “if touching coin, increase score” or “if touching enemy, lose a life.” This is where the game’s core mechanics come together.
Step 6: Test, Debug, and Share Your Game – Your Creation is Ready for the World!
Once you’ve coded the gameplay, it’s time to test your game. Click the green flag to play it and see if everything works as expected. If you notice any bugs or things that aren’t working right, tweak your code and test again. This is called debugging, and it’s an important part of the development process.
When everything is working perfectly, share your game! Scratch allows you to upload your projects to the Scratch community, where others can play, remix, and give feedback. You can also share it with friends and family for them to enjoy.
Start Your Coding Journey Today!
At Junior Coderz, we empower young minds by providing coding and STEM education programs that make learning fun, interactive, and practical. Whether you’re just starting out with Scratch or ready to take on more advanced projects, we offer the resources, tools, and mentorship to guide your coding journey.
Join Junior Coderz today to kickstart your learning, develop tech skills, and become the innovator of tomorrow! Start building games, apps, and more with Scratch and other programming languages!
FAQs
Q1: Do I need previous coding experience to use Scratch?
No! Scratch is designed for beginners, with its simple drag-and-drop interface. No coding experience is required—just creativity and curiosity.
Q2: Can I create advanced games on Scratch?
Yes! While Scratch is beginner-friendly, it’s also powerful enough to create complex projects, such as multi-level games, interactive stories, and animations. As you learn, you can add more advanced mechanics like power-ups or difficulty levels.
Q3: How do I share my Scratch game with others?
Once you’re happy with your game, you can share it on the Scratch community by saving and uploading your project. You can also share the link with friends and family.
Q4: How long does it take to make a game on Scratch?
The time varies depending on the complexity of your game. A simple game might take just a few hours, while a more detailed one could take a few days. The key is to start small and build up your skills over time.
Q5: Can I learn more advanced coding after Scratch?
Absolutely! Scratch provides a solid foundation in programming that can help you move on to more advanced languages like Python, JavaScript, and C++ as you grow in your coding journey.