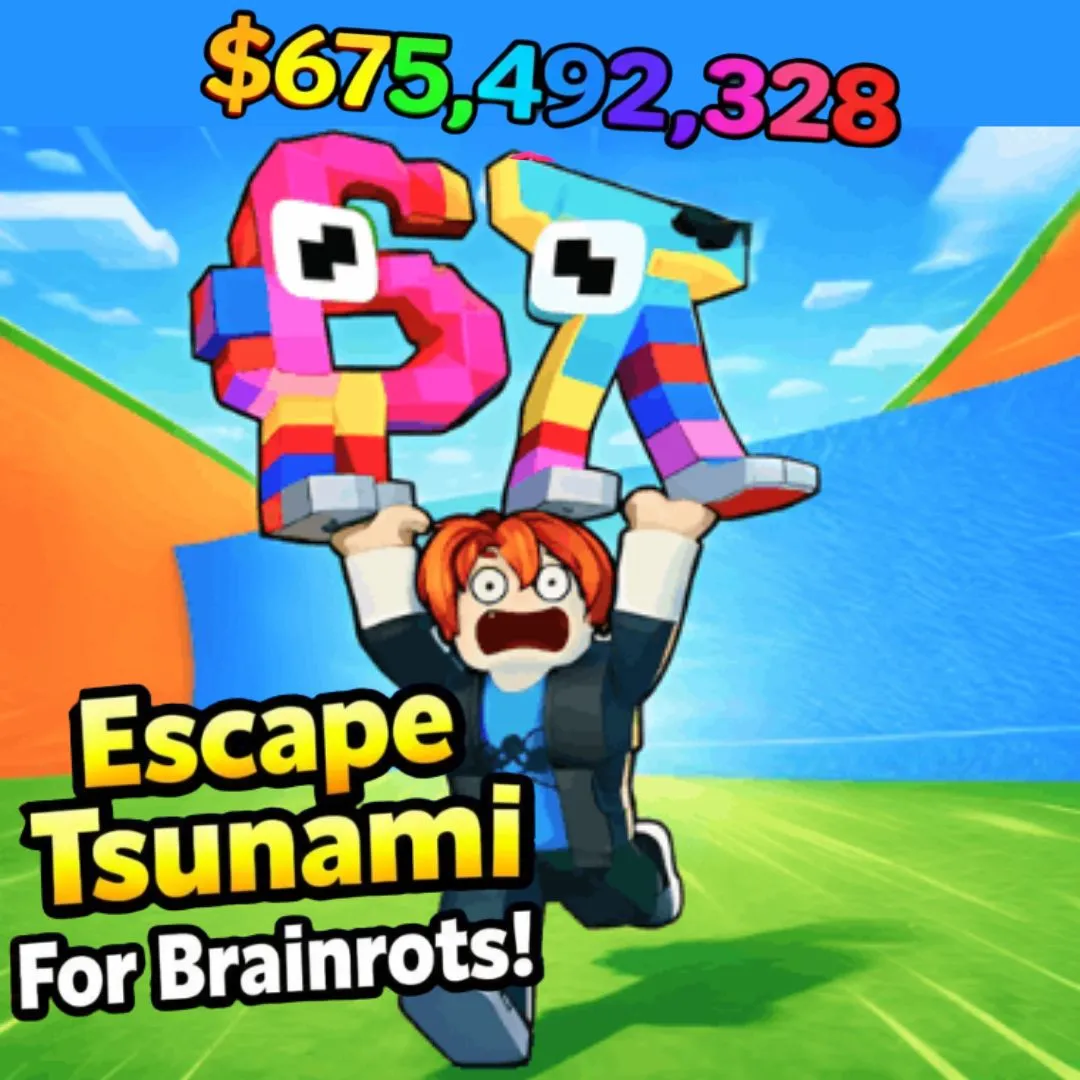

Picture this: a giant wave is rising behind your character. Meme-faced brainrot sprites are scattered across the screen. Platforms are crumbling, and collectible coins float just out of reach. That is the kind of chaotic, heart-pumping game you are about to build in Scratch! Escape Tsunami games have exploded in popularity thanks to the 67 brainrot roblox trend. Players race against rising water while dodging absurd obstacles and grabbing power-ups. Instead of just playing these games, what if your child could create one? In this tutorial, we walk through every step of building a fully functional Escape Tsunami game in Scratch. You will add rising water mechanics, platforming obstacles, collectibles, and signature brainrot humor. This is one of the most exciting fun coding projects a young programmer can tackle. Whether you are a parent, an educator, or a kid who wants to build something epic, this guide has you covered.
What Makes an Escape Tsunami Game Inspired by 67 Brainrot Roblox So Fun?
The magic of tsunami escape games lies in the tension between survival and reward. The water is always rising, creating constant pressure. But scattered throughout the level are collectible items that tempt you to take risks. Do you grab that coin near the edge of a crumbling platform? Or do you play it safe and keep climbing? That split-second decision-making is what makes these games so addictive. It also makes them brilliant coding projects for kids.
The brainrot layer adds another dimension of fun. Instead of generic characters, players control silly meme-faced sprites with wobbling eyes. Obstacles might be giant rubber ducks, spinning toilets, or dancing cacti. The entire aesthetic is hilariously absurd on purpose. That is exactly the vibe that has made 67 brainrot roblox style games a massive hit among young gamers. When kids build this in Scratch, they learn game design, pacing, and risk-reward balance. They also pick up visual storytelling skills. If your child has already tried building a Dress to Impress Fashion Game or a Sprunki Quiz Game, this project takes their abilities to a new level.
Planning Your 67 Brainrot Roblox Tsunami Game: The Design Blueprint
Great games start with great plans. Before opening Scratch, grab a notebook and sketch out your game. This planning phase teaches kids computational thinking. That means breaking a big idea into smaller, manageable pieces. Professional game developers use the same approach. It is one of the most valuable habits a young coder can build. For more on how this mindset shapes learners, read our post on engineering mindset lessons for kids.
| Game Element | Details |
|---|---|
| Player Character | A brainrot meme sprite (big eyes, wobbly body) |
| Rising Water | A blue sprite that slowly scrolls upward over time |
| Platforms | Static and crumbling ledges the player jumps across |
| Obstacles | Moving hazards (spinning objects, falling debris) |
| Collectibles | Coins and power-ups scattered across platforms |
| Score System | Points for height climbed + coins collected |
| Game Over | Triggered when water touches the player sprite |
Setting Up Your Sprites and Stage for the Tsunami Escape Game
Open Scratch and let the creative chaos begin! Your first task is designing the stage and the key sprites that bring this game to life. The backdrop should create a sense of vertical height, think a tall building, a cliff face, or a colorful abstract tower. You can draw this in the Scratch costume editor using simple rectangle platforms at different heights against a sky-colored gradient. The goal is to make the player feel like they are climbing upward while the water chases them from below.
Next, create your player sprite. This is the star of the show, so give it maximum brainrot energy. Draw a chunky character with oversized googly eyes, tiny arms, and a panicked expression. Create at least two costumes: one for standing and one for jumping with arms flailing. You will also need a water sprite. This is simply a wide blue rectangle spanning the full stage width. Make it semi-transparent for a cool wave effect.
Finally, create your platform sprites as small horizontal rectangles. Add obstacle sprites like a spinning rubber duck. Classic gold coins work perfectly as collectible sprites. For tips on engaging game sprite design, our tutorial on creating enemy AI in Scratch covers this topic well.
🌊 Design Tip: Give your water sprite a gradient from dark blue at the bottom to light blue at the top. Add tiny white squiggle lines for foam. It takes five extra minutes but makes the tsunami look ten times more dramatic!
Coding the Rising Water Mechanic: The Heart of Every Brainrot Tsunami Game
The rising water is what transforms a simple platformer into a heart-pounding survival experience. The mechanic is straightforward: the water sprite starts at the bottom of the screen and moves upward at a steady pace. As time passes, it speeds up slightly, creating increasing urgency. When the water touches the player sprite, the game ends. This single system teaches kids about variables (for tracking water speed), forever loops (for continuous movement), and collision detection (for triggering game over).
when green flag clicked
go to x: (0) y: (-180)
set [waterSpeed v] to (0.5)
set [waterLevel v] to (-180)
forever
change [waterLevel v] by (waterSpeed)
set y to (waterLevel)
if <(waterLevel) > (-50)> then
change [waterSpeed v] by (0.005)
end
if <touching [Player v] ?> then
broadcast [gameOver v]
stop [all v]
end
end
Notice how the water speed starts slow at 0.5 and gradually increases by 0.005 per frame. This acceleration only kicks in once the water passes the halfway point. The result is a perfect difficulty curve. Early gameplay feels manageable, but the late game becomes a total scramble. The “touching Player” check runs every frame inside the forever loop. The instant water catches the player, a “gameOver” broadcast fires. Kids who enjoy mechanics like this would also love building motion sensing games with the webcam.
Building the Player Movement and Jumping for Your 67 Brainrot Roblox Game
The player needs to feel responsive and fun to control. In a tsunami escape game, the core movements are left, right, and jump. Horizontal movement uses arrow keys with a velocity variable for smooth feel. The jump mechanic relies on a “velocityY” variable that simulates gravity. It constantly pulls the player down unless they stand on a platform. Pressing the up arrow gives velocityY a positive burst that launches the player upward. Gravity then brings them back down naturally. This is real physics simulation in Scratch, and kids pick it up fast.
when green flag clicked
set [velocityY v] to (0)
set [onGround v] to (0)
forever
if <key [right arrow v] pressed?> then
change x by (5)
end
if <key [left arrow v] pressed?> then
change x by (-5)
end
change [velocityY v] by (-1)
change y by (velocityY)
if <touching [Platforms v] ?> then
set [velocityY v] to (0)
set [onGround v] to (1)
else
set [onGround v] to (0)
end
if <<key [up arrow v] pressed?> and <(onGround) = (1)>> then
set [velocityY v] to (12)
play sound [jump v]
end
end
The gravity simulation subtracts 1 from velocityY every frame. When the player jumps, velocityY is set to 12, launching them up. Gravity then pulls that number back to 0 and into negatives. This brings the player back to earth smoothly. The “onGround” variable prevents double jumping. It only allows a jump when the player touches a platform. This system creates that satisfying, weighty jump feel. For a deeper look at Scratch game development, check out our beginner guide.
Adding Obstacles and Hazards to Your 67 Brainrot Roblox Escape Game
Rising water alone creates tension, but obstacles turn it into a genuine challenge. The best tsunami escape games mix static hazards with moving ones. Static hazards include spike strips on platforms. Moving hazards are spinning objects that cross the screen. In Scratch, moving obstacles use clone sprites. These spawn at random positions and glide across the stage. When the player touches one, they lose a life or get knocked backward. Even a brief slowdown can let the water catch up.
when green flag clicked
hide
forever
wait (pick random (2) to (5)) seconds
create clone of [myself v]
end
when I start as a clone
go to x: (240) y: (pick random (-100) to (150))
show
repeat until <(x position) < (-240)>
change x by (-4)
turn right (15) degrees
if <touching [Player v] ?> then
broadcast [playerHit v]
end
end
delete this clone
Each clone spawns off screen to the right. It then glides left while spinning 15 degrees per frame. The random spawn interval of 2 to 5 seconds keeps things unpredictable. Players can never memorize a pattern. When a clone touches the player, it broadcasts a “playerHit” message. The player sprite listens and responds by briefly freezing in place. This gives the water a chance to close the gap. For maximum brainrot energy, draw ridiculous obstacles: giant flying toilets, spinning bananas, or bouncing cat heads!
| Obstacle Type 🎯 | Behavior | Scratch Concept |
|---|---|---|
| Spinning Rubber Duck | Glides left across screen, rotates | Cloning, glide, rotation |
| Falling Debris | Drops from top of screen at random x | Random positioning, gravity |
| Crumbling Platform | Disappears 1 second after player lands | Timer, costume switching |
| Bouncing Spike Ball | Moves up and down between two y points | Variables, conditional loops |
Creating the Collectibles System: Coins and Power-Ups in Your 67 Brainrot Roblox Game
Collectibles are the sugar that keeps players coming back. In our game, coins sit on platforms and each one adds to the score. But the real excitement comes from special power-ups. A speed boost lets the player move faster for five seconds. A double jump token allows one mid-air jump. A shield blocks obstacle damage for three seconds. Each power-up teaches different coding concepts. Kids learn timers, boolean flags, and temporary variable changes.
when green flag clicked
show
forever
if <touching [Player v] ?> then
change [score v] by (10)
play sound [coin v]
hide
wait (5) seconds
go to x: (pick random (-200) to (200)) y: (pick random (0) to (160))
show
end
end
When the player touches a coin, it adds 10 points and plays a satisfying sound. The coin then hides for 5 seconds before respawning at a random spot. This keeps the coin economy flowing without complex clone management. For power-ups, use the same collision pattern. Set a temporary boolean like “hasShield = 1” that resets after a timer. The player sprite checks this variable before taking damage. Kids who enjoy reward systems like this should explore our guide on shop systems in Scratch. It covers upgradable items and currency management.
Adding Visual Polish: Screen Shake, Particles, and Brainrot Effects
A tsunami escape game needs to feel intense, and visual effects are what create that feeling. Start with a screen shake effect. In Scratch, you cannot shake the actual stage, but you can fake it by rapidly moving the player sprite and all visible elements a few pixels in random directions and snapping them back. Trigger this whenever the water speed increases or when the player gets hit by an obstacle. It creates an earthquake-like rumble that makes every moment feel dramatic.
Add splash particles by creating a small water droplet sprite. Spawn clones that shoot upward and fade using the ghost effect. For brainrot flavor, add “meme flash” effects. A silly face fills the screen for a split second when the player grabs a rare power-up. Randomize the character’s color on every jump. Use “change color effect by 25” for rainbow cycling mid-air.
Layer in dramatic water rumbling in the background. Add comic “boing” sounds on jumps and a sad trombone on game over. These polish touches transform a basic project into a real game. They also teach animation timing, layered audio, and visual feedback. For more creative ideas, browse our collection of the best games kids can build in Scratch.
Advanced Extensions: Take Your Tsunami Game Beyond the Basics
Once the core game is running, the real creativity begins. Here are five extension ideas that push the project further and teach advanced programming concepts. Each one builds on the foundation you have already created, and kids can pick whichever ones excite them most.
| Extension Idea | Concept Learned | Difficulty |
|---|---|---|
| Procedural Level Generation | Cloning, random positioning, lists | Hard |
| Multiple Character Skins | Costume switching, user input | Easy |
| Boss Wave (mega obstacle) | Health variables, timers, broadcasts | Hard |
| High Score Leaderboard | Cloud variables, lists, sorting | Medium |
| Difficulty Selector | User input, conditional variable setting | Easy |
Procedural level generation is particularly impressive. It makes every playthrough unique. Instead of placing platforms manually, you code a system that spawns clones at random heights. No two games are ever the same. This gives players a reason to keep coming back. Students ready for this kind of challenge thrive in the Algorithm Avengers program at Junior Coderz. Teens there tackle expert-level projects in Python, web development, and AI.
What Kids Learn by Building a Tsunami Game Inspired by 67 Brainrot Roblox
Behind all the memes and rising water, this project is packed with real learning. Building an Escape Tsunami game teaches foundational coding concepts. Variables track water level, score, and player velocity. Conditionals check for collisions and power-up status. Loops drive the water’s rise and the gravity simulation. Event handling connects keyboard inputs to actions. Cloning creates dynamic obstacles and particles on the fly. These are the same concepts that power every app and game kids use daily.
Beyond the code, kids develop creative design skills. They choose characters, craft obstacles, and balance difficulty. Mathematical reasoning grows as they tune speed values. Project management emerges as they plan, build, and test each feature. Debugging teaches resilience and patience that transfer to every area of life. These are the exact skills that the Scratch Coding track at Junior Coderz is designed to build. For a broader look at how coding fits into STEM education, explore our detailed guide.
Ready to Turn Your Child Into a Game-Building Machine?
If this Escape Tsunami project got your child fired up about coding, imagine what they could create with a real instructor guiding them step by step! At Junior Coderz, kids aged 6 to 18 learn Scratch programming, game development, Python, AI, and so much more through live, interactive online classes led by professional engineers. Every class is packed with hands-on projects just like this one, where students build real games, apps, and animations while mastering the coding concepts that prepare them for the future.
Whether your child is a complete beginner or already building projects, we have a program designed for their exact age and skill level. Our AI Hybrid Course takes young learners into the world of machine learning and automation, while our Scratch workshops turn creative ideas into playable games. Book a completely free trial class and let your child experience the magic firsthand. Follow us on Instagram and Facebook for daily coding inspiration, student showcases, and tips for parents!
🌊 Book Your Free Trial ClassConclusion: Ride the Wave from Player to Creator
Building an Escape Tsunami game in Scratch is thrilling and educational. Through this single game, kids learn variables, conditionals, loops, cloning, and gravity simulation. They also master collision detection and UI design. The project covers the full game development cycle. That means planning, designing, coding, testing, debugging, and polishing. Most importantly, kids walk away with something they built on their own. A playable, shareable game that proves they can create technology.
The brainrot aesthetic makes the journey funnier and more personal. But the skills underneath are rock solid. They transfer to any programming language or platform. Whether your child explores more Scratch games or graduates to Python programming and AI, the skills they build today will last decades. So open Scratch and draw that panicked brainrot character. Code that first rising water block. Watch something incredible come to life. If you want expert guidance, Junior Coderz is here to help at every step. Connect with us on LinkedIn for new courses, student stories, and coding education updates. The wave is rising. Time to code your escape!
FAQs
Kids aged 9 to 14 will get the most out of this project. Younger kids (9 to 10) can build the basic rising water and player movement, while older kids (11 to 14) can add obstacles, collectibles, power-ups, and advanced features like procedural generation. Scratch is designed to be accessible at every level, so anyone comfortable with reading can get started.
Some basic Scratch familiarity helps, especially with movement blocks and variables. If your child is a complete beginner, we recommend starting with simpler projects like a Scratch animation or Sprunki rhythm game first. The Scratch Coding program at Junior Coderz builds these foundational skills step by step.
A basic version with rising water, player movement, and simple platforms takes about 2 to 3 hours. Adding a full obstacle system, collectibles, power-ups, visual effects, and sound design could take 5 to 8 hours across multiple sessions. Scratch makes it easy to save progress and pick up where you left off, so kids can work at their own pace over several days.
Absolutely! Scratch has a built-in community where kids can publish their projects and share them with a direct link. Friends and family can play the game directly in a web browser without downloading anything. It is a fantastic way for kids to feel proud of their work and get feedback from other young coders around the world.
After mastering a tsunami escape game, kids are ready for more complex projects like time travel adventure games or multiplayer experiences. When they outgrow Scratch, Python is the natural next step. Junior Coderz offers advanced programs like the AI Hybrid Course and Algorithm Avengers that take students from block-based coding to professional programming languages.